5 Common Problems When Applying Labels (and How To Solve Them)
- By Robert Roland
- on
- in How To, Labels
Do you have issues when applying your custom labels to bottles? Not sure if it’s the label or the machine? In today’s blog, Sticker Mountain is here to help you solve the five common problems when applying custom labels by machine.
But first, you’ll need to dial in your machine; here are some ways to make sure your machine is set up correctly.
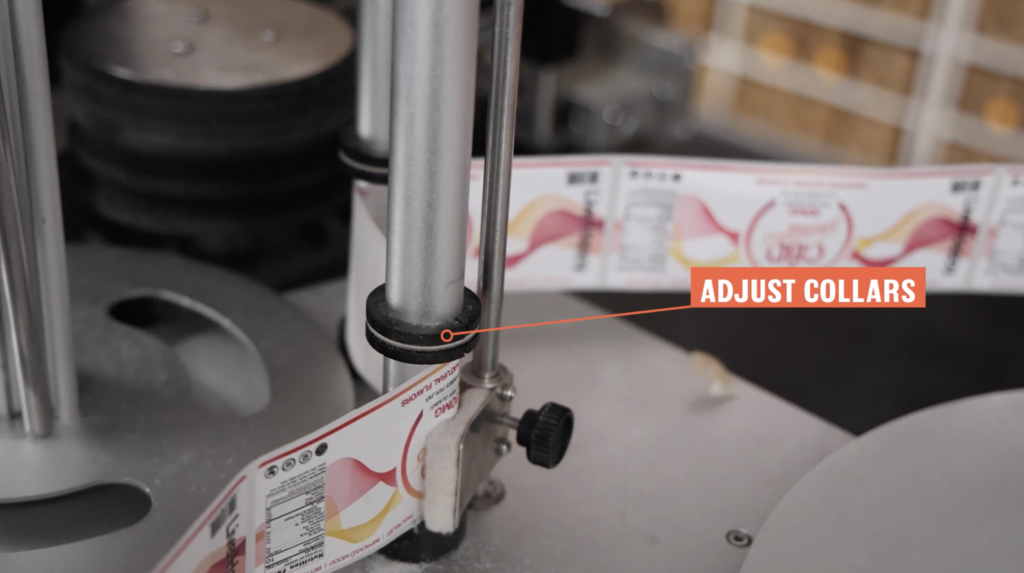
1) Adjust the Label Spacers
First, start by adjusting the label spacers (collars) to ensure your labels don’t shift up and down. The collar’s job is to ensure the labels stay in place, so when the machine applies a beer bottle label, wine bottle label, or any other bottle label or packaging container, it applies to the same spot every time.
Additionally, check the web path and make sure your spacer bars are in the right spots. If they’re not in the right place, however, the liner may fray, causing the whole label web to break. When this happens, you will either need to clean the machine or check if your spacer bars are set up correctly and adjust accordingly.
2) Thread Through the Eye-Reader
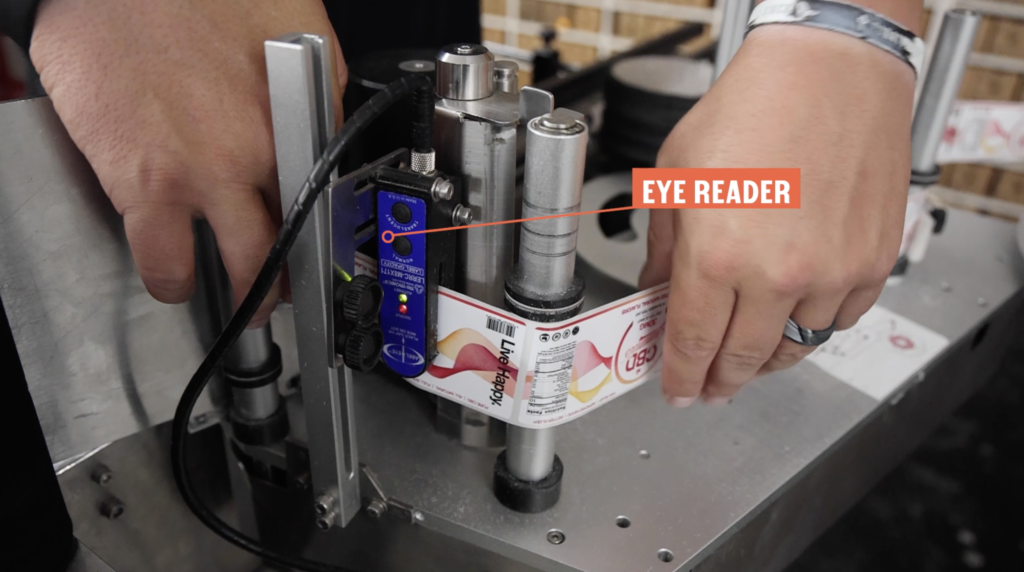
Second, thread the label roll through the eye-reader. The eye-reader’s job is to read the paper space between each label, telling the reader when to stop after each label is ejected onto a bottle or can.
Remember to periodically wipe off the sensor because sometimes dust can build up and make it incorrectly read.
3) Check Peel Bar Placement
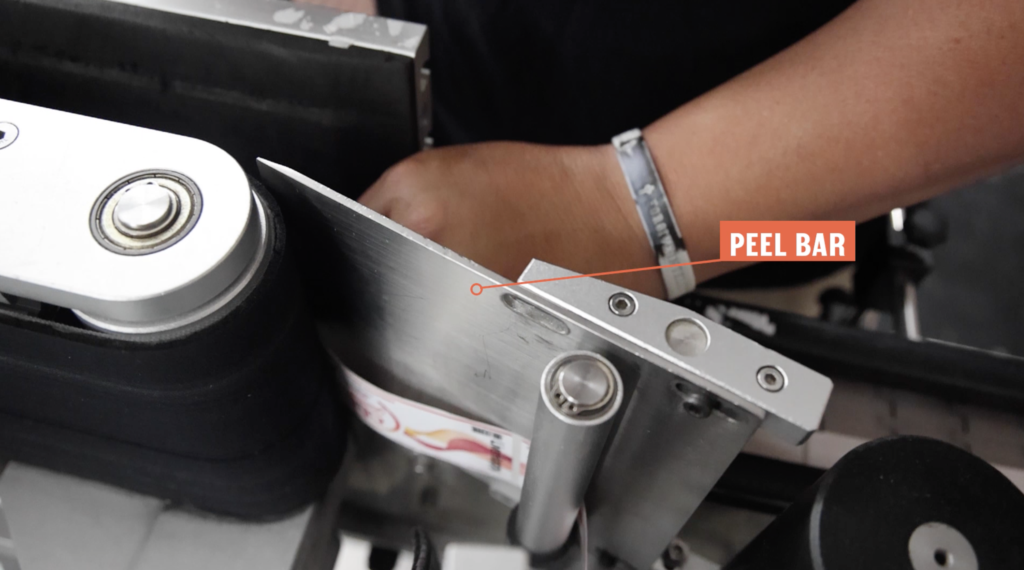
Third, check if your peel bar is in place (split the label from the paper). There will be times when you need to adjust the angle of your peel bar; this accommodates tapered containers by changing the angle at which the label is released from the web.
If the label still goes uneven, then you can peel the label off and reapply the label by hand!
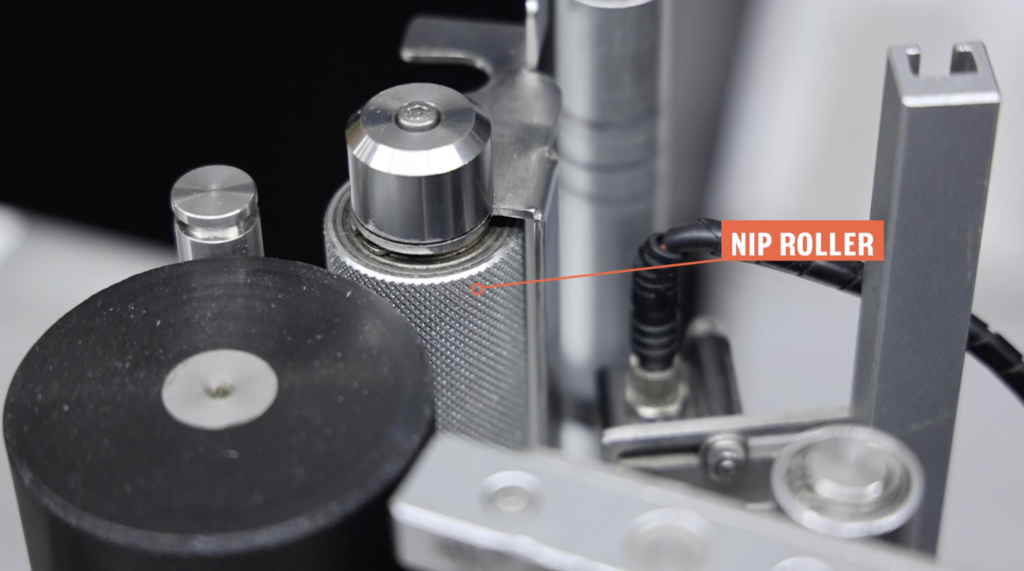
4) Check Label Webbing
Next, make sure the label webbing winds through the nip roller. The nip roller is where the motor brings the labels through the machine and drives the entire process.
Bonus Tip #1 Order Extras
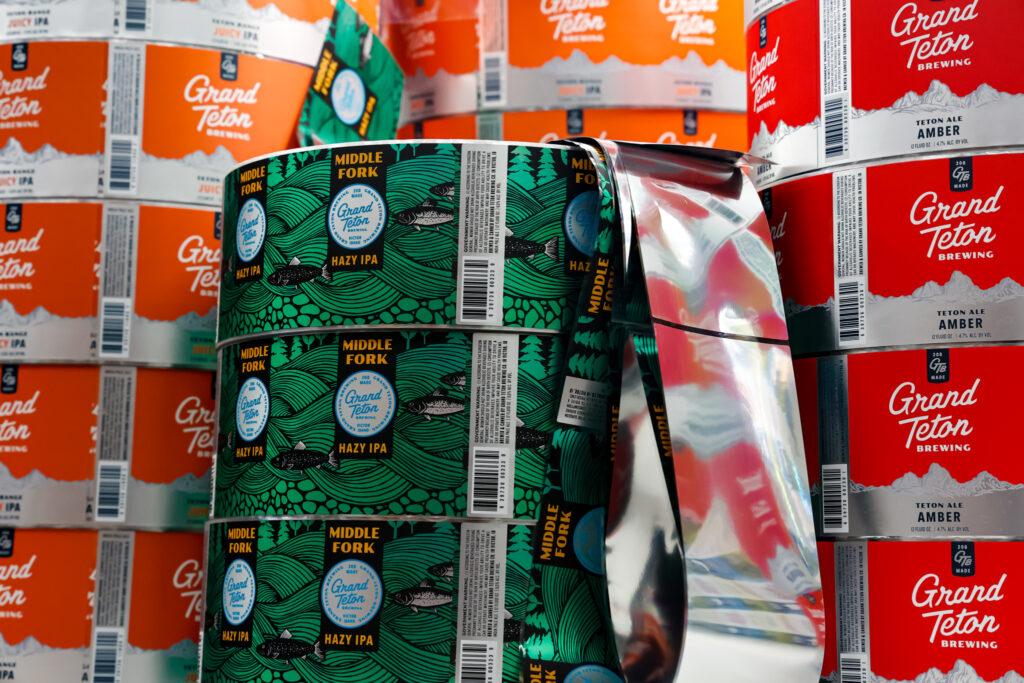
Make sure you order enough extra custom labels because sometimes labels can get ruined when threading the roll through the machine. Later in the process, you will need extra labels to use as testers. We supply roughly 10 extra labels with each roll, just in case you are applying these through a machine.
Now that you have dialed in your machine, we can go through the five most common problems that occur when applying custom labels to containers:
Common Problem #1:
Too Little or Too Much Pressure on Application
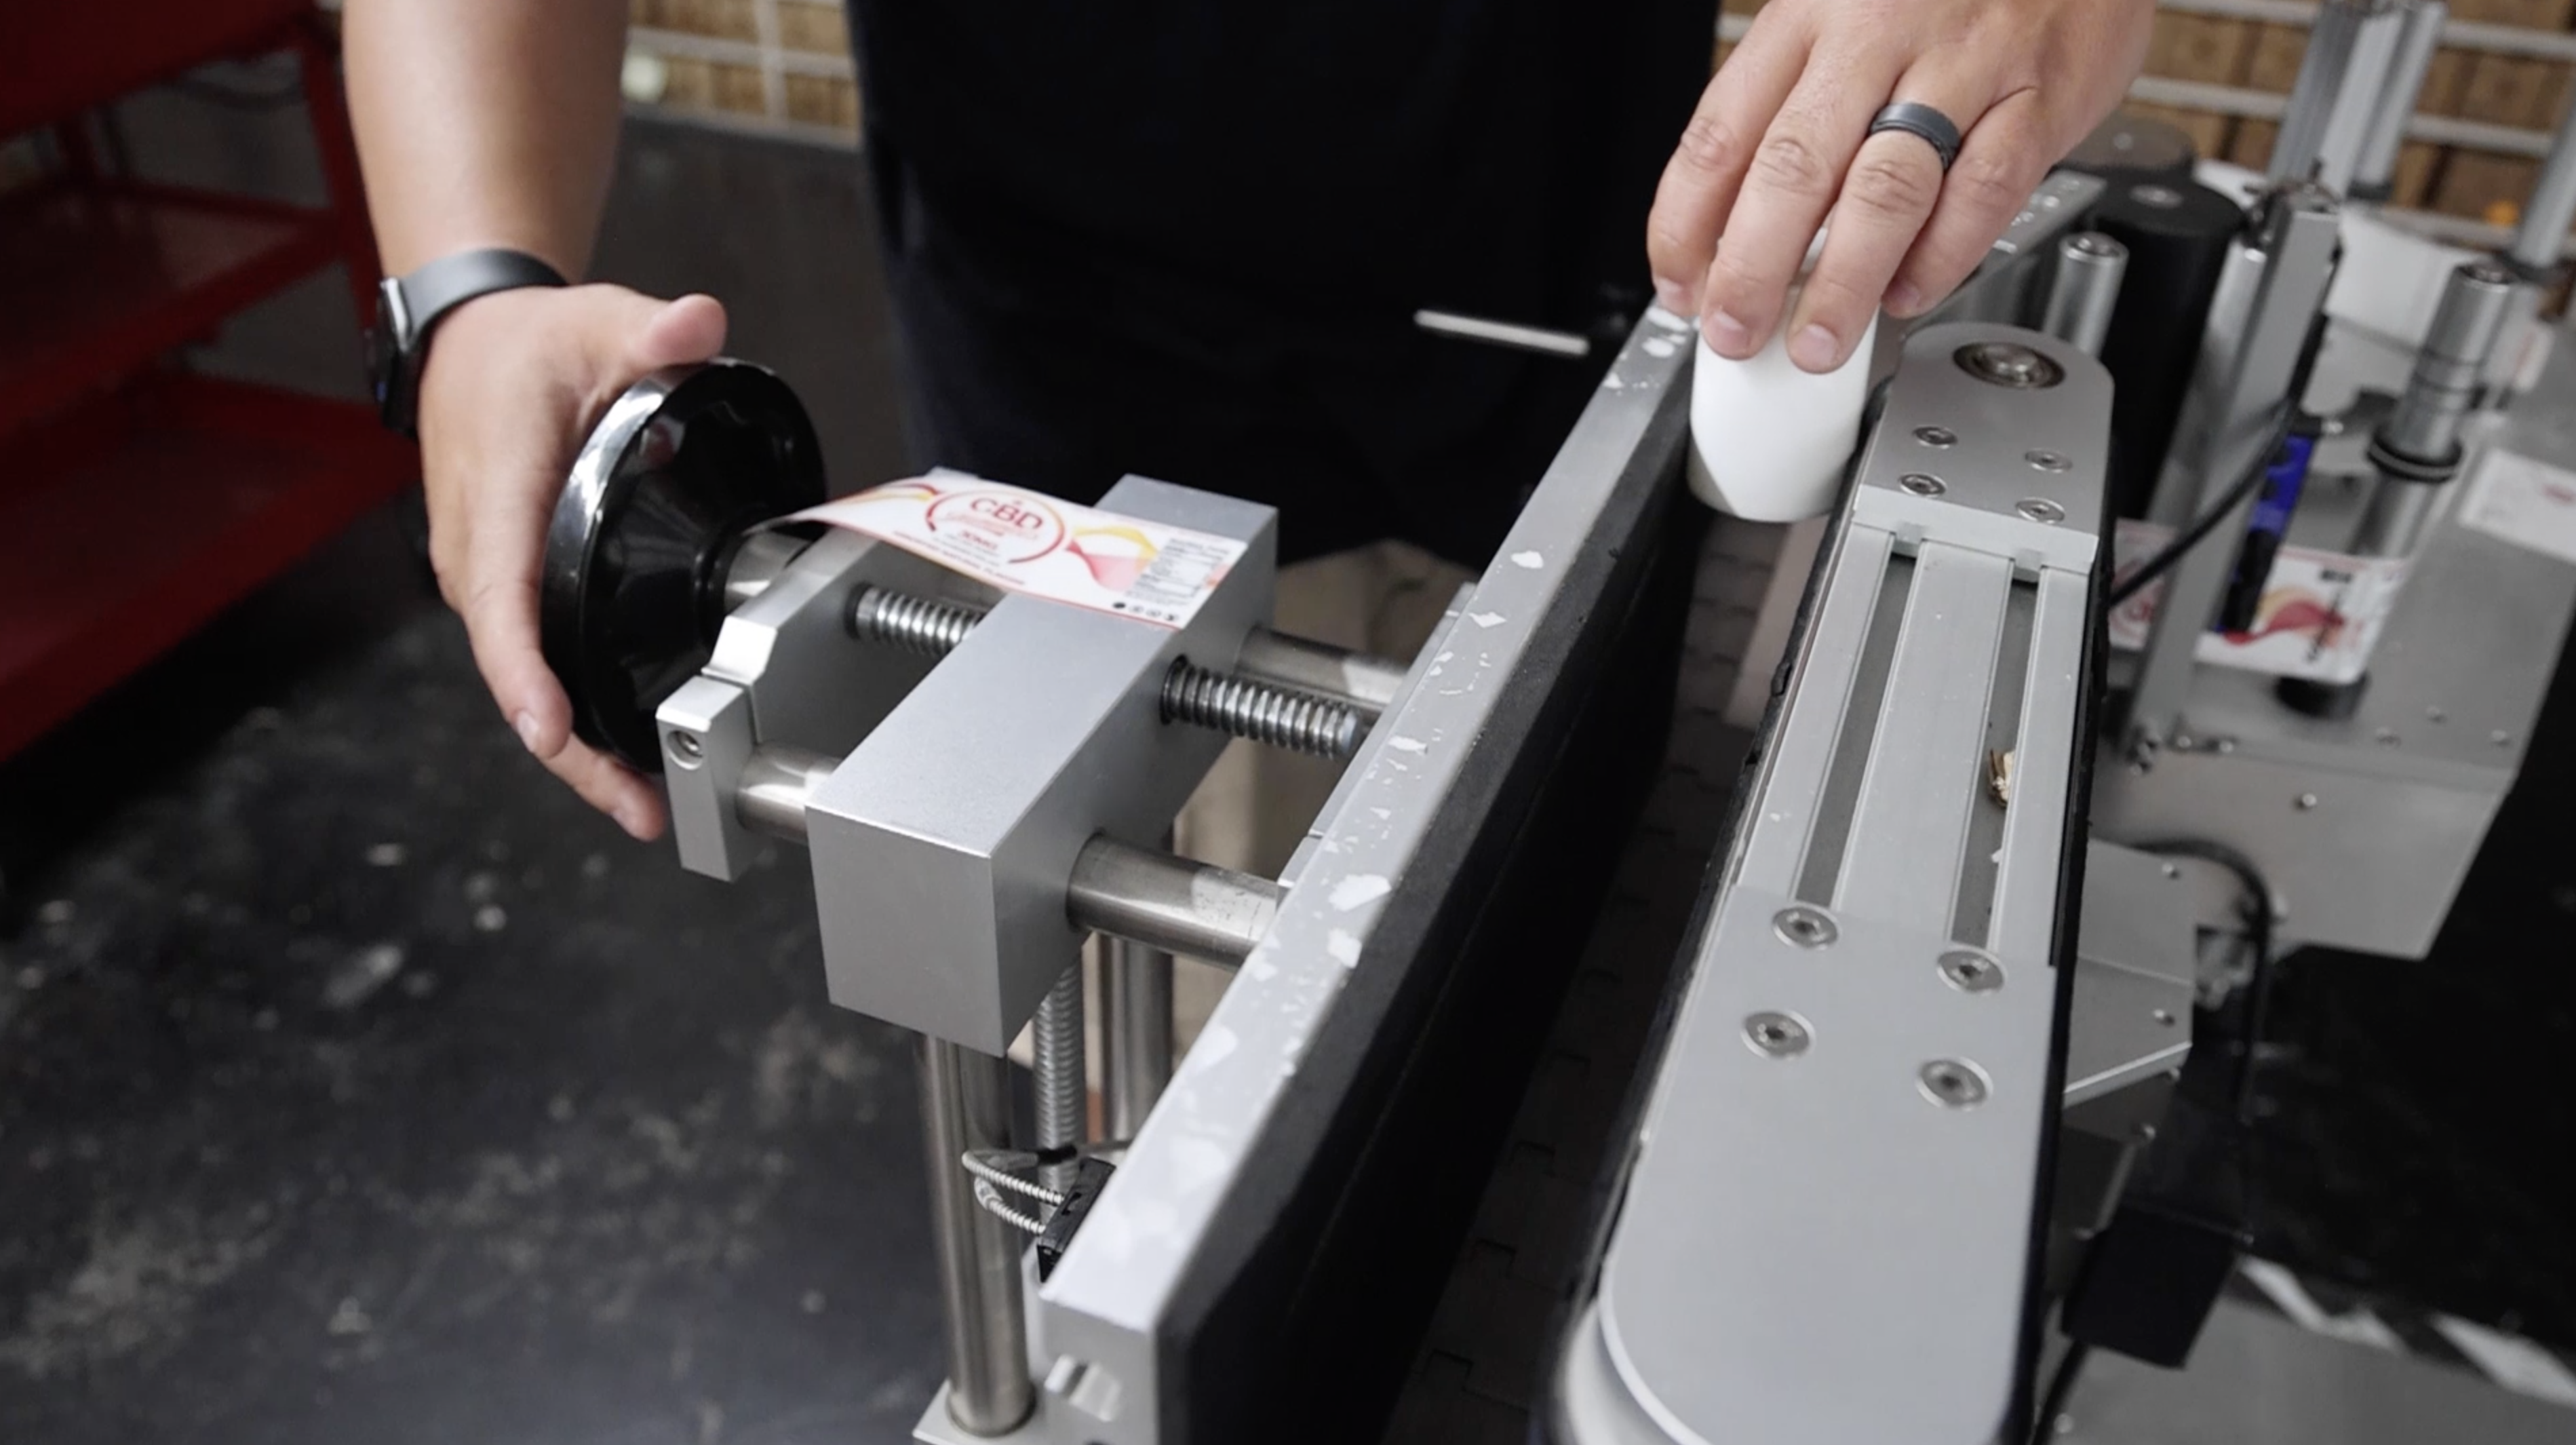
There’s a reason these types of labels are called pressure-sensitive labels. The machine must provide just the right amount of pressure to the bottle or container; otherwise, the label may not stick if it’s too loose. Alternatively, if there’s too much pressure, the label will wrinkle onto the can or bottle, even possibly crushing your bottle.
Depending on your machine, you can adjust the size of the track to fit your container through, but make sure it’s balanced so it applies to your label perfectly.
Common Problem #2:
Wrong Rewind Direction
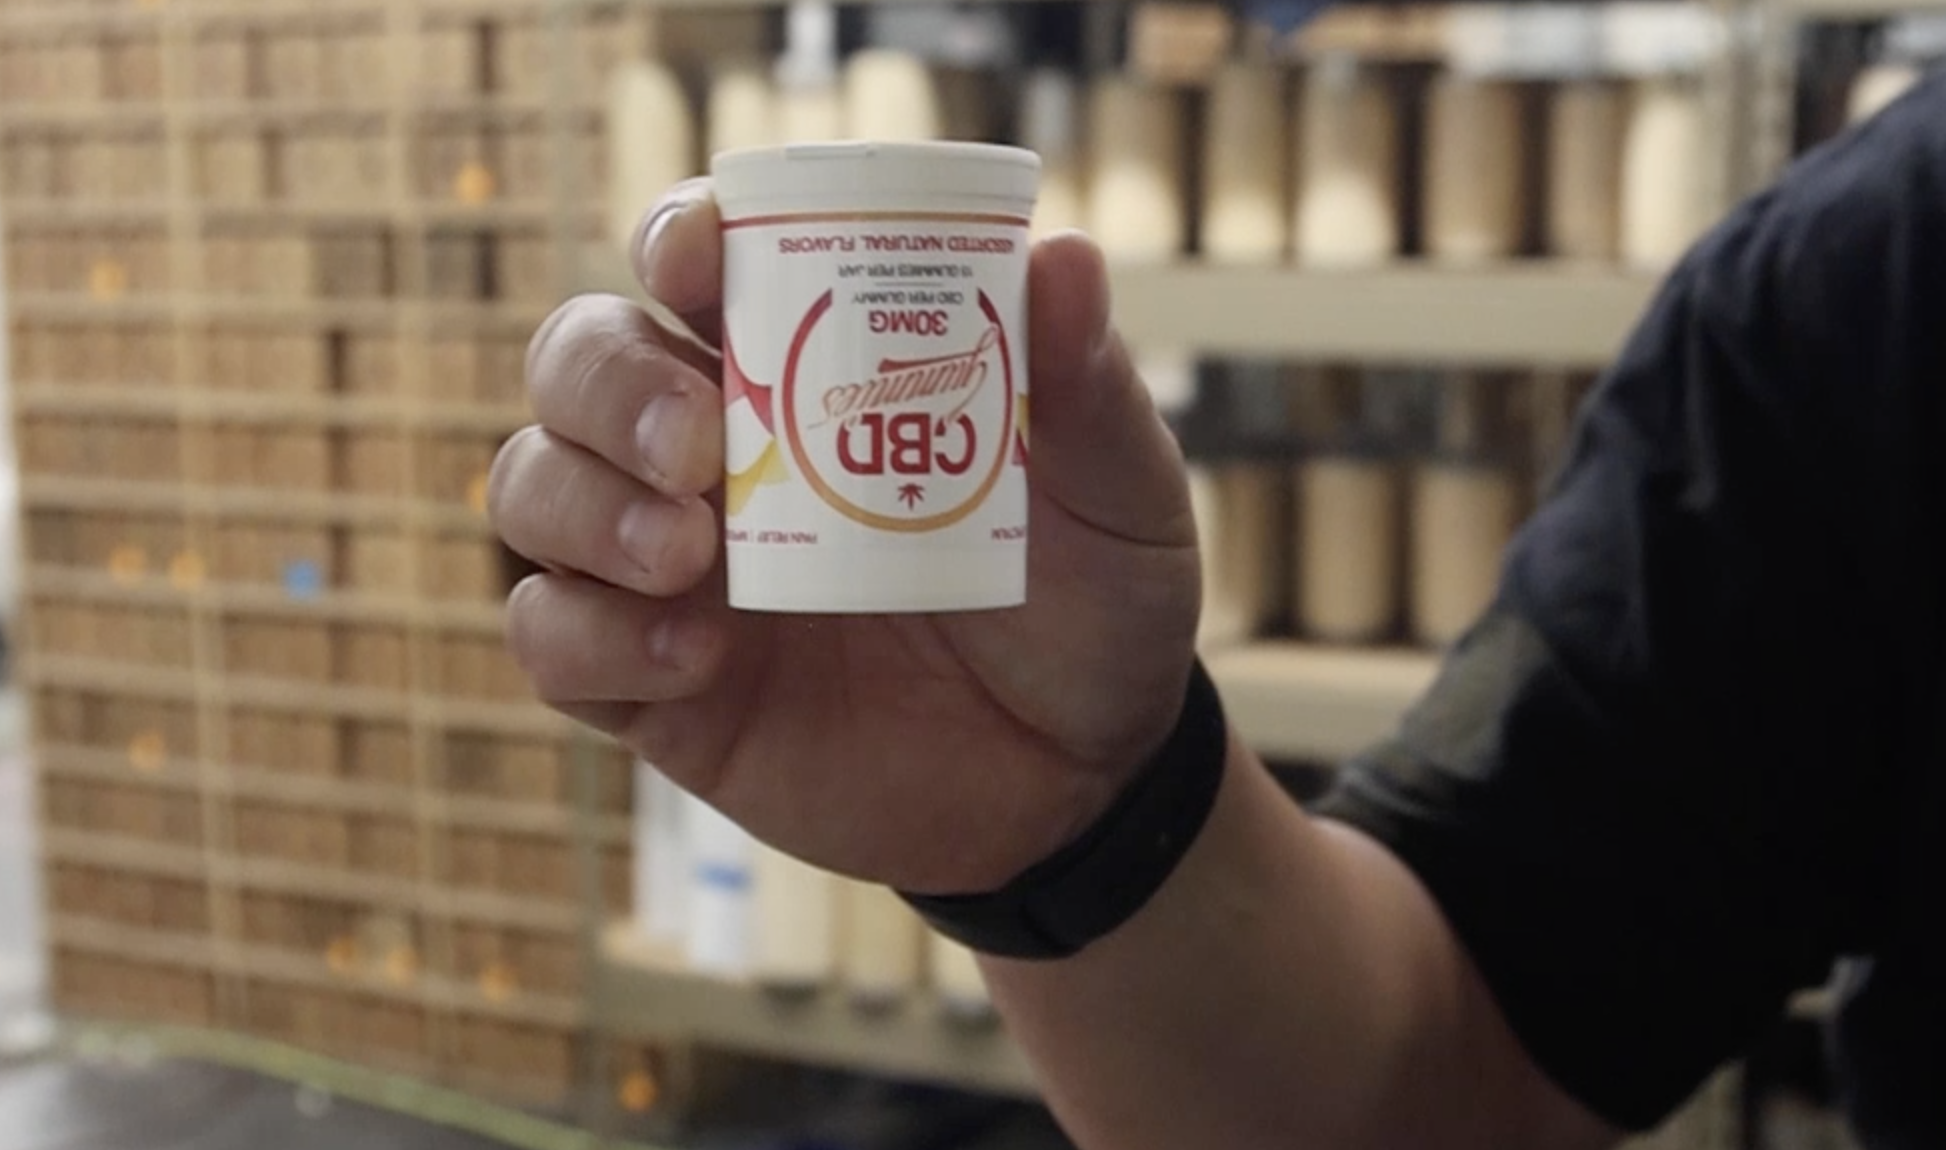
The second common problem is that your label roll is in the wrong rewind direction, which causes the label to be placed on your container upside down. Knowing the rewind direction of your label application machine is key to great-looking labels.
Through the Sticker Mountain ordering process, we ask for your preferred rewind direction. What does rewind direction mean? It’s the orientation that your design will come off the roll. If you are still unsure, call or email us; we would be happy to assist you! Below is a quick visual of what each rewind direction means.
Direction #1: the top edge of the design comes off of the roll first.
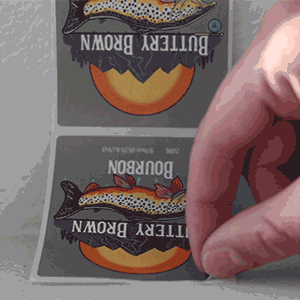
Direction #2: the bottom edge of the design comes off of the roll first.
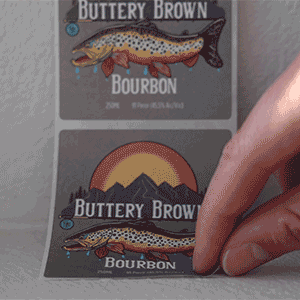
Direction #3: the right edge of the design comes off of the roll first.
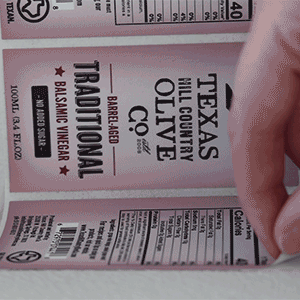
Direction #4: the left edge of the design comes off of the roll first.
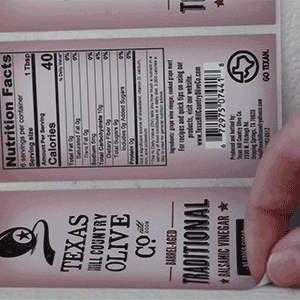
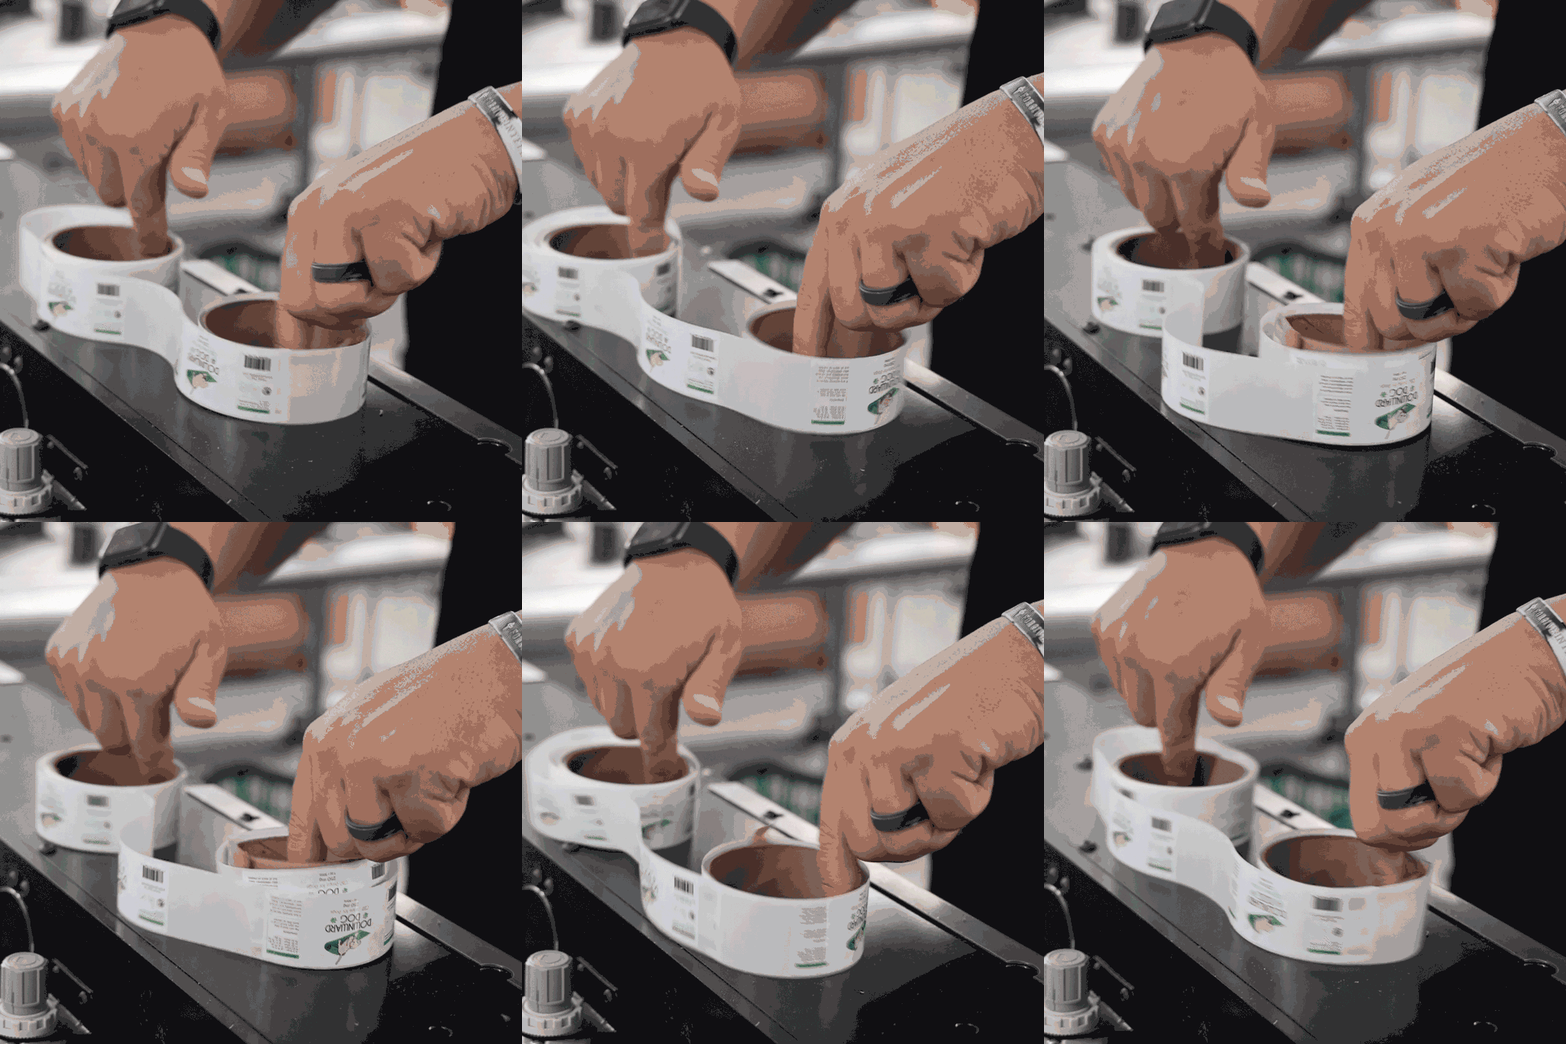
We can rewind your custom labels on our in-house machines, or if you’re in a pinch, there’s a way to rewind your label roll by hand! Rewinding means rolling your labels in the opposite direction, so instead of the labels coming from the left side of the label roll, they would come out the right side.
Common Problem #3:
Gap Sensor Issues/ Recalibrating
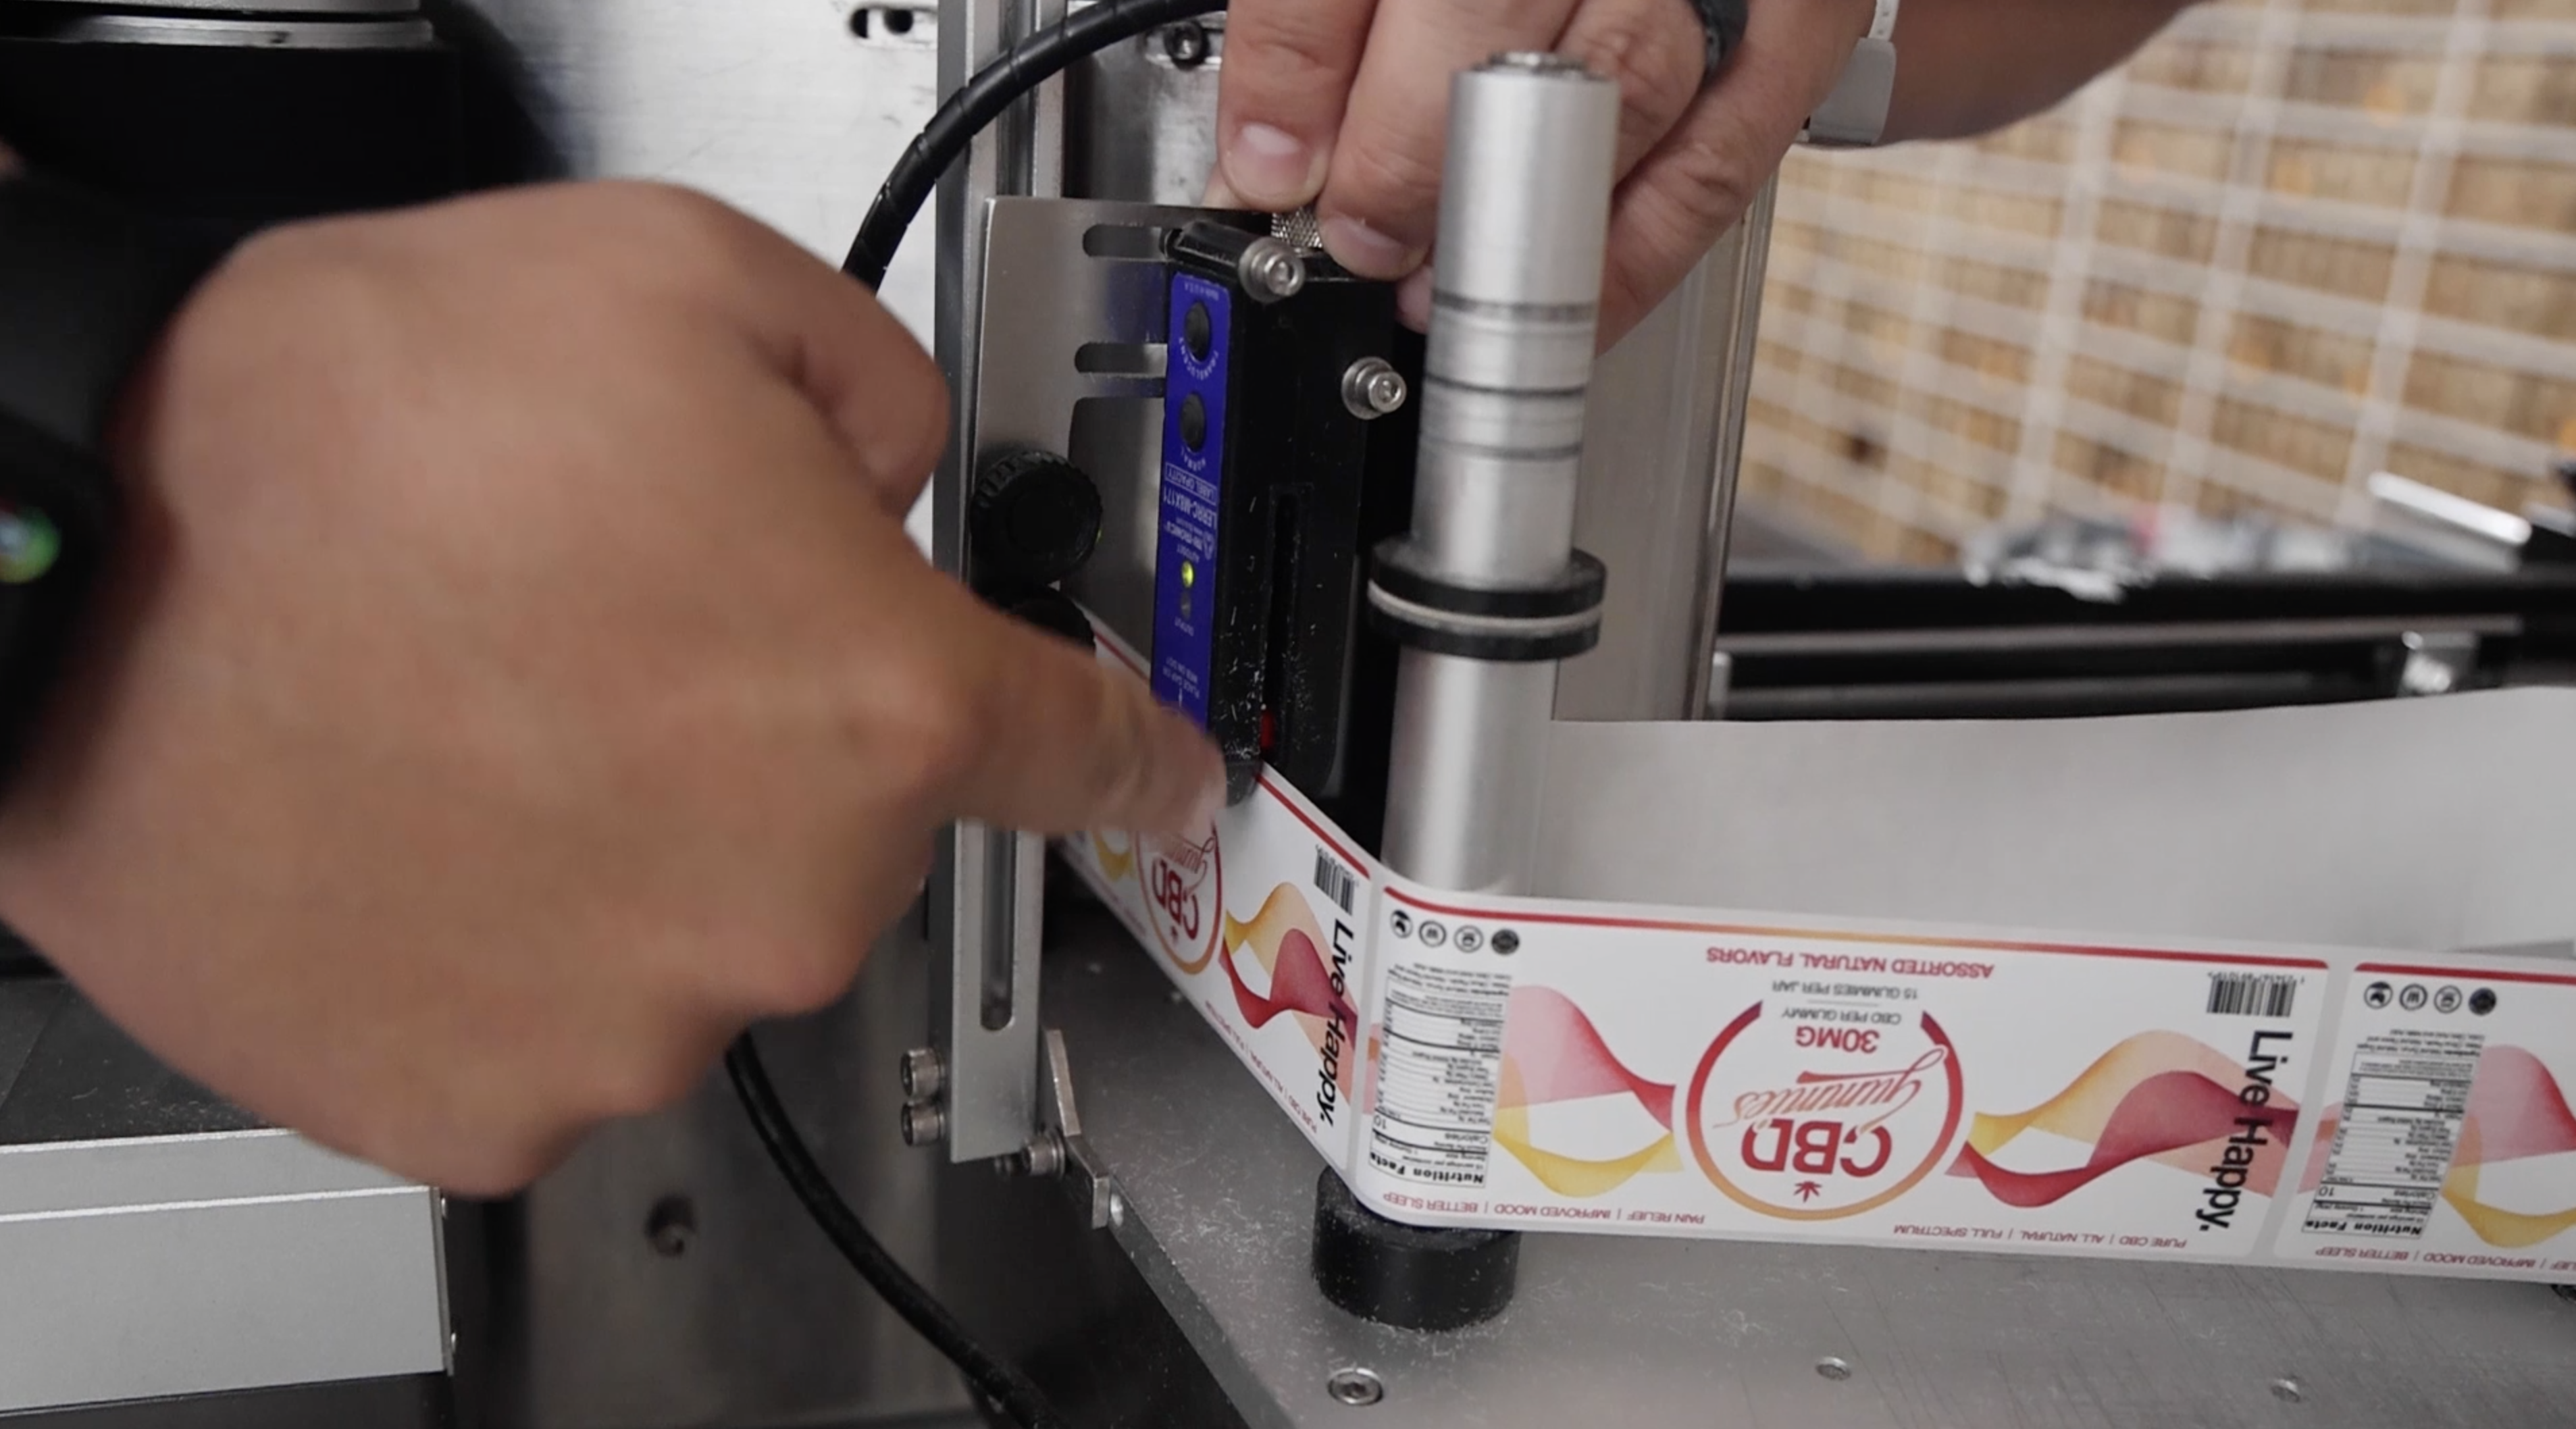
A gap sensor reads the space between the labels so your machine knows where to stop. Otherwise, your machine spits label after label and does not know when to stop or even when to start.
The gap sensor may sometimes need to recalibrate and reset in the correct spot according to your custom label size.
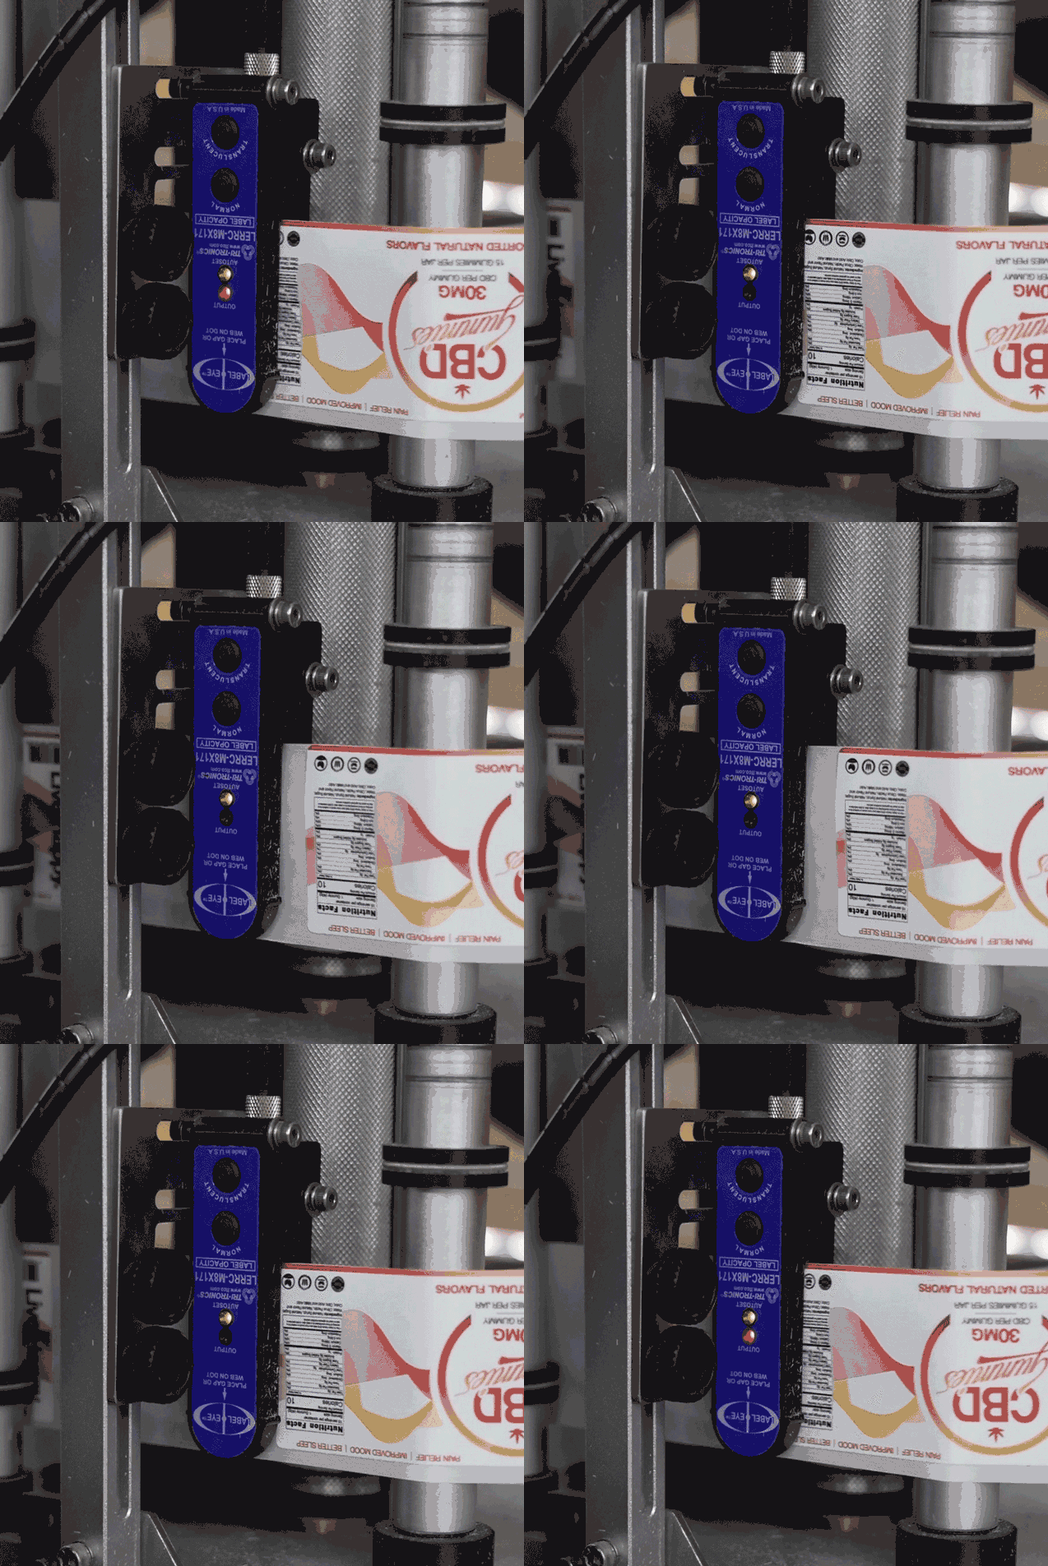
A common question is, how do I know if my sensor is working correctly? The answer is to test your sensor by moving your label back with a gap. If your sensor works, a red light turns on when the label passes through and off when it hits the blank paper.
Common Problem #4:
Labels Are Cut Too Deep
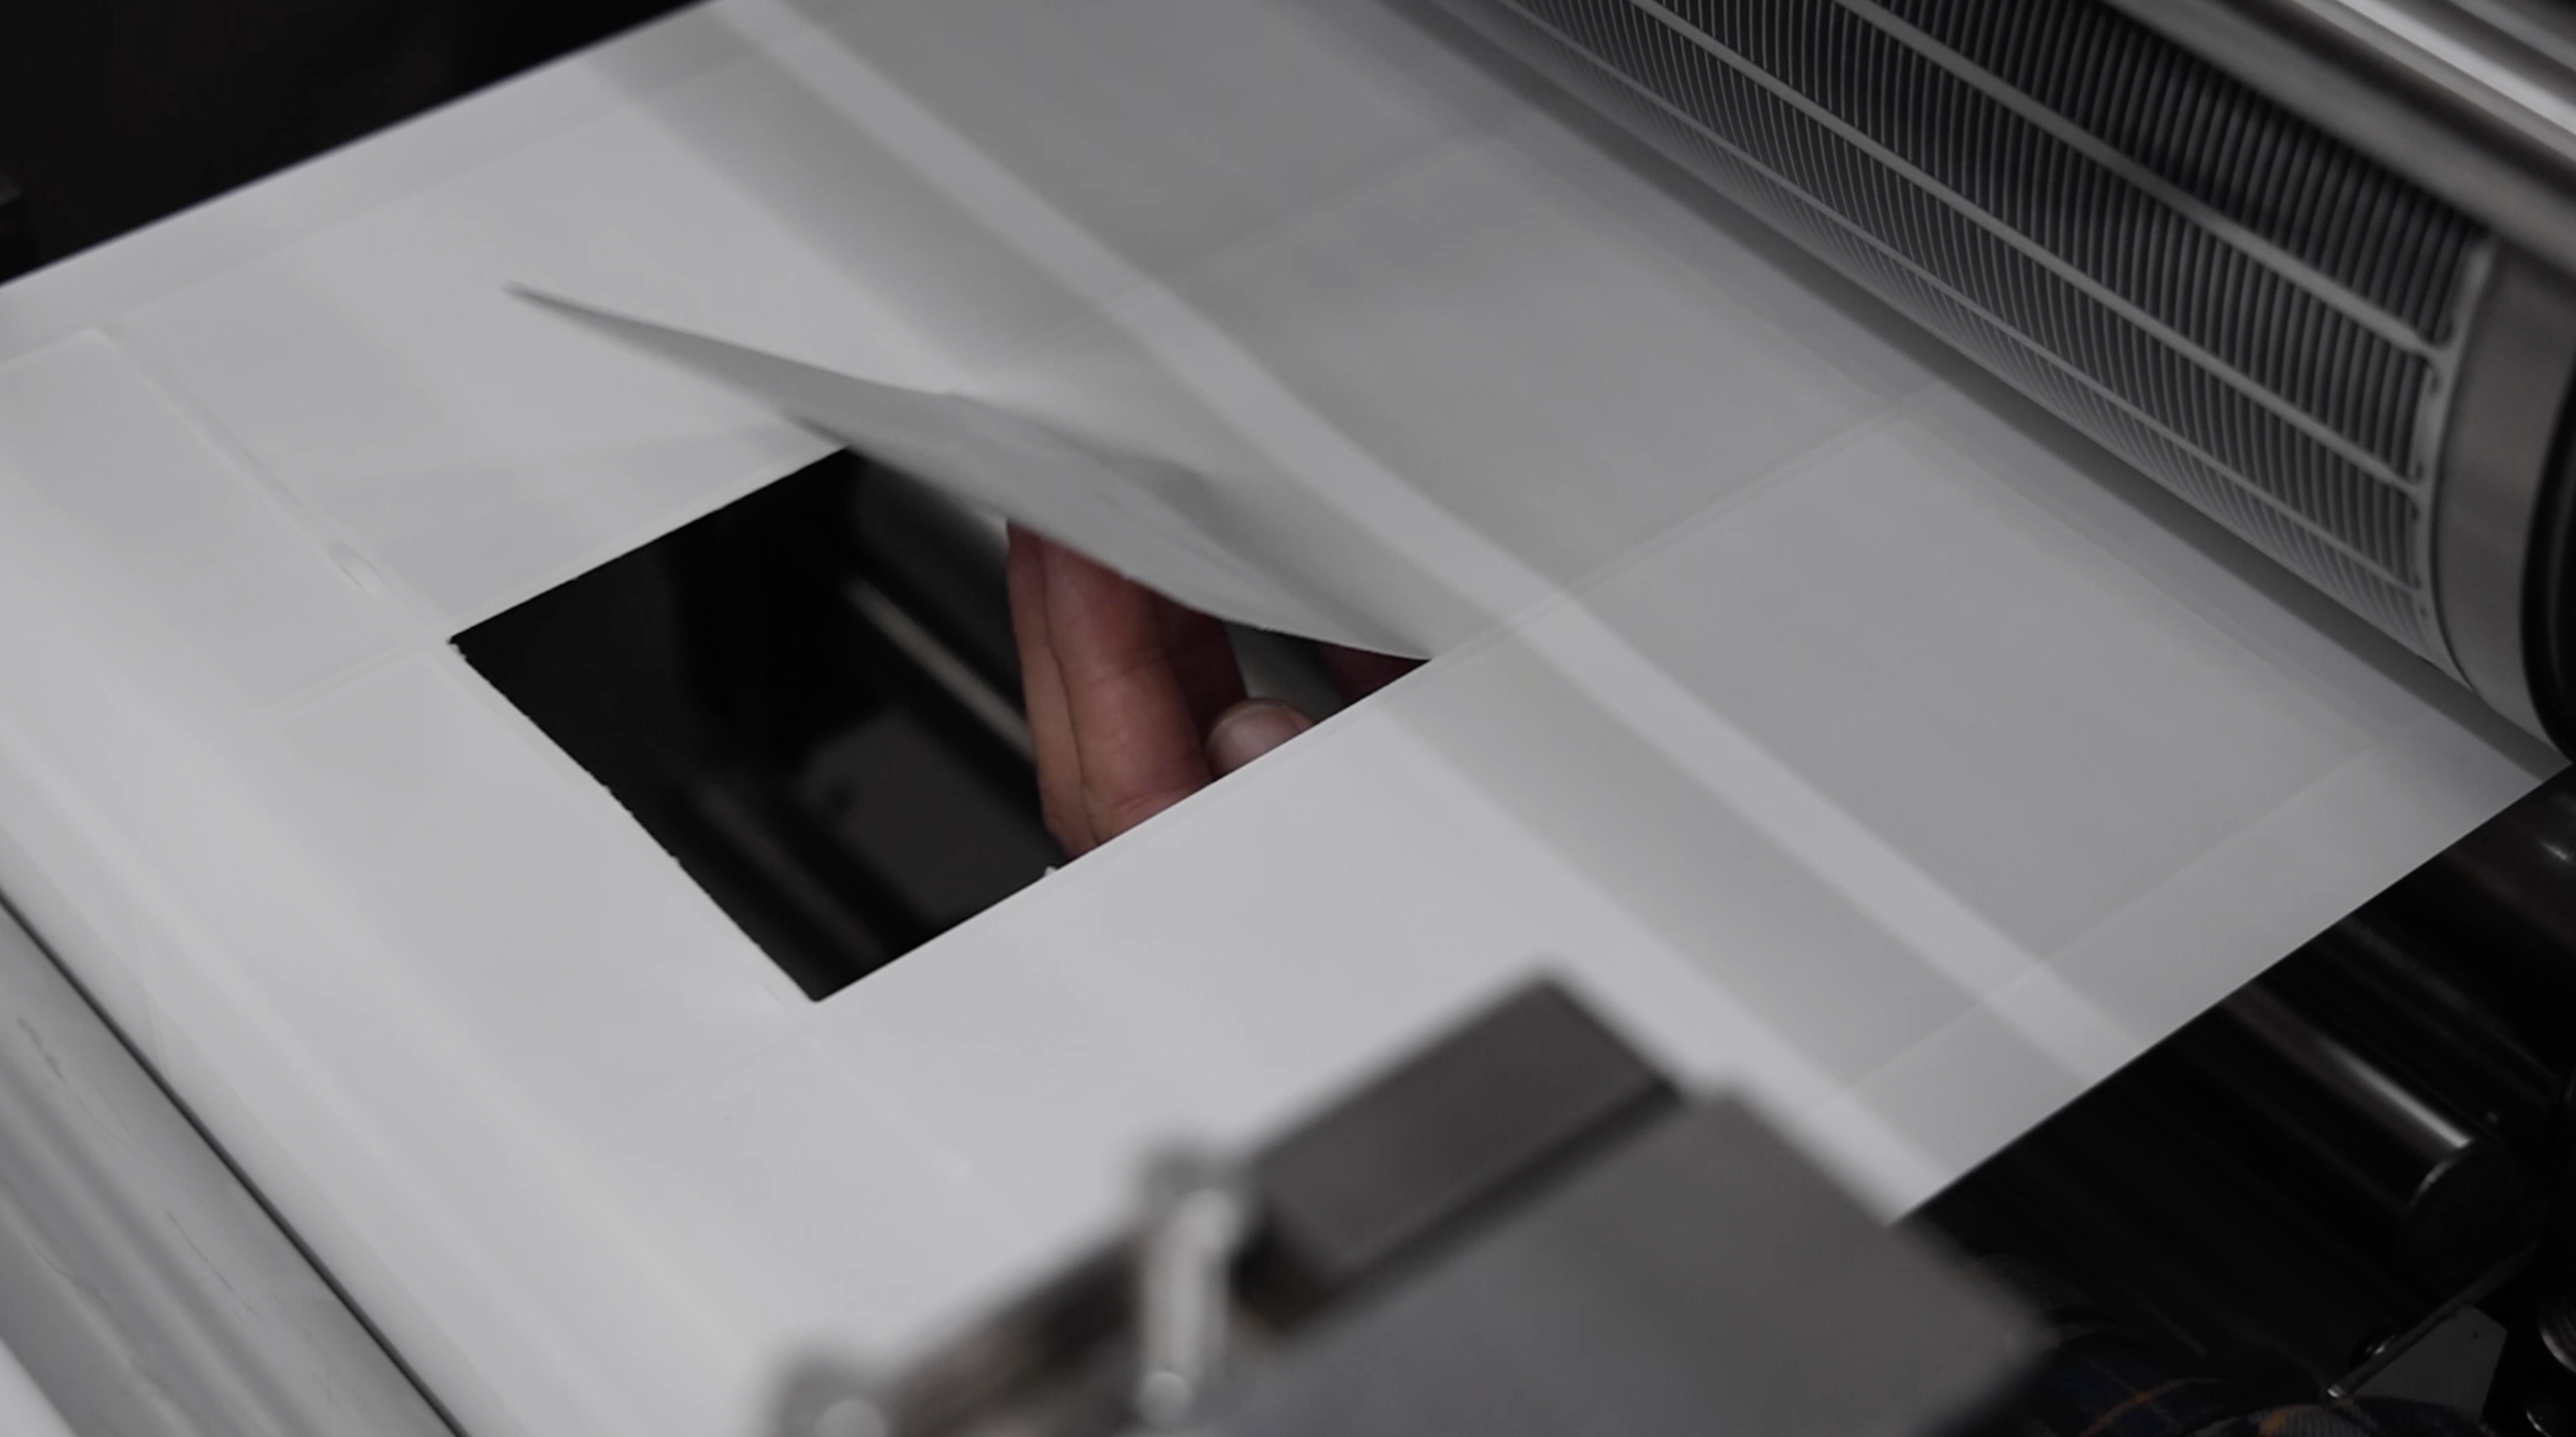
There are times when the manufacturer accidentally cuts the label too deep. This issue causes the label to not come off on the peel bar; it continues to go through the web. Another sign that your custom label is cut too deep is that the web snaps and breaks.
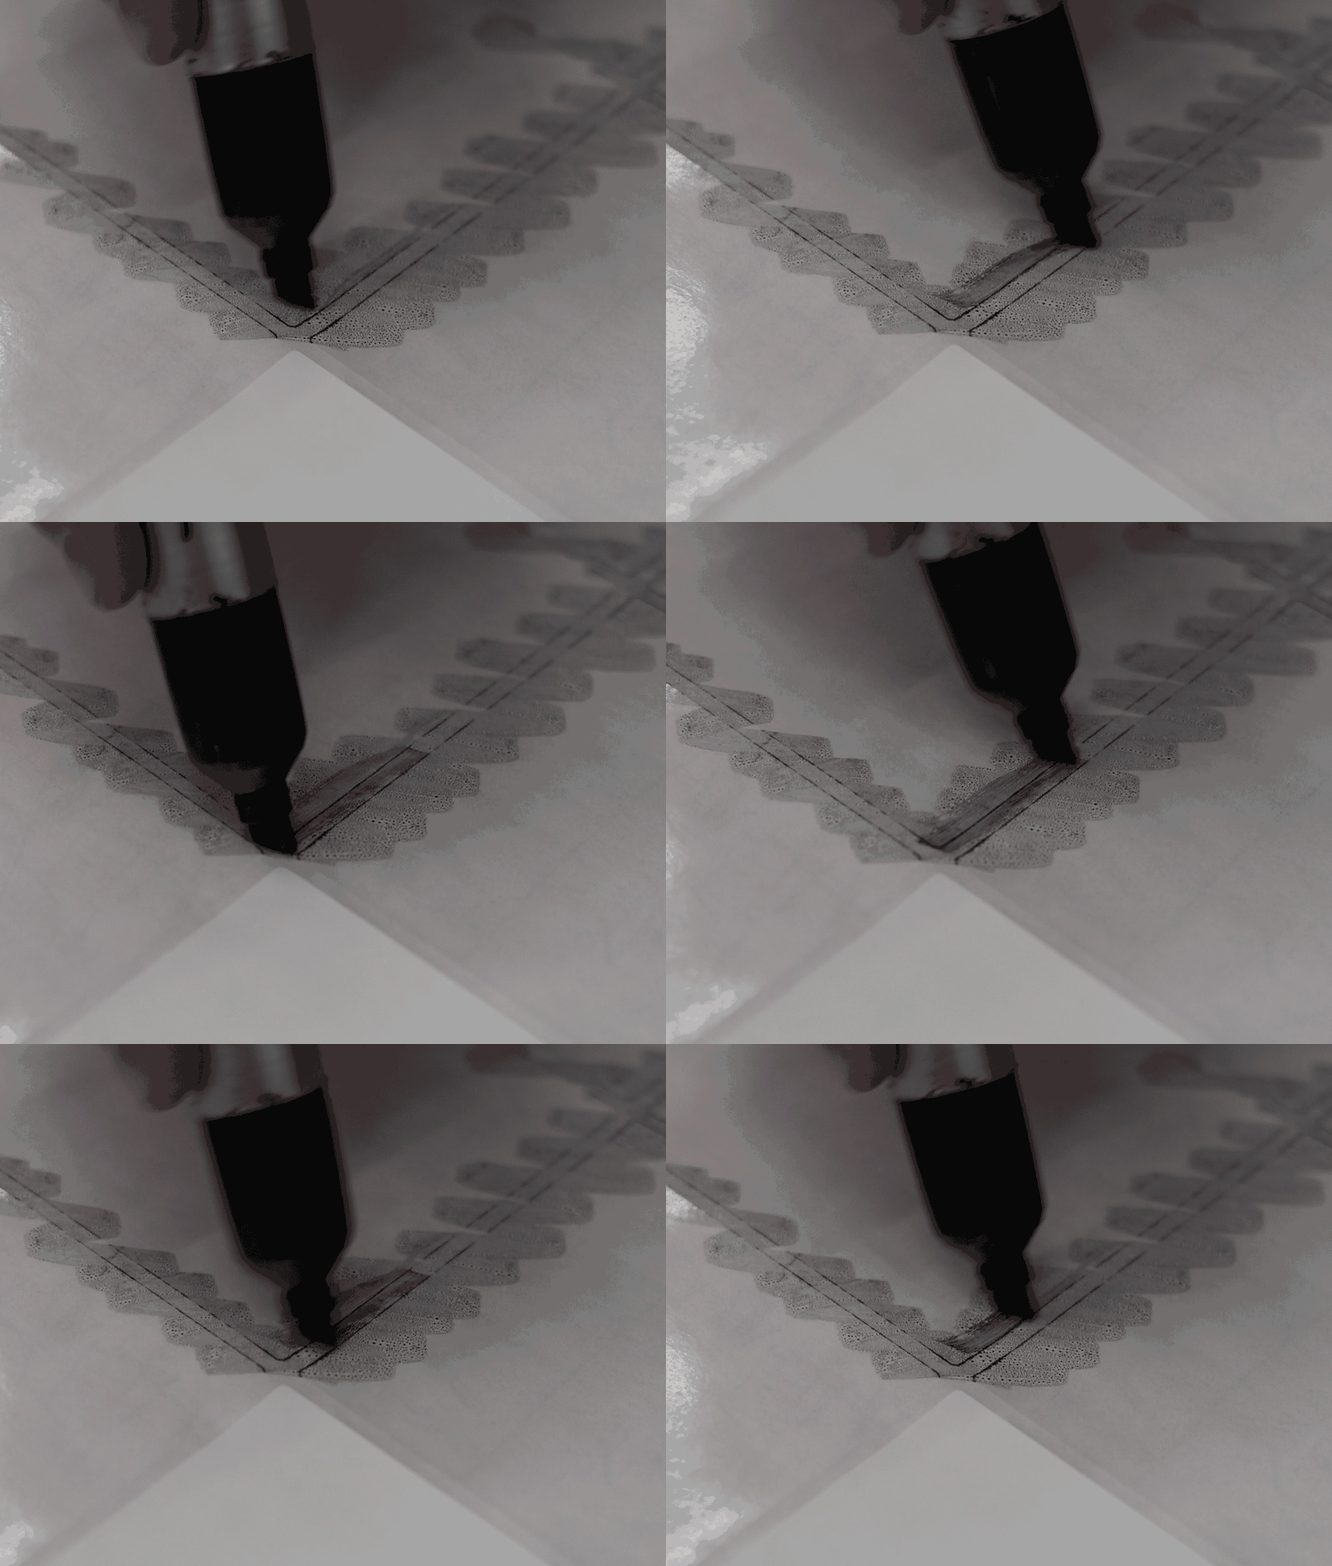
A way to check this is to take a sharpie to your label liner and ensure the depth of the cut lines for your labels.
Remove the labels, and color a Sharpie over the creased lines. If the line is solid black, you will know it’s cut too deep.
Common Problem #5:
Labels Are the Wrong Size/Shape for the Product
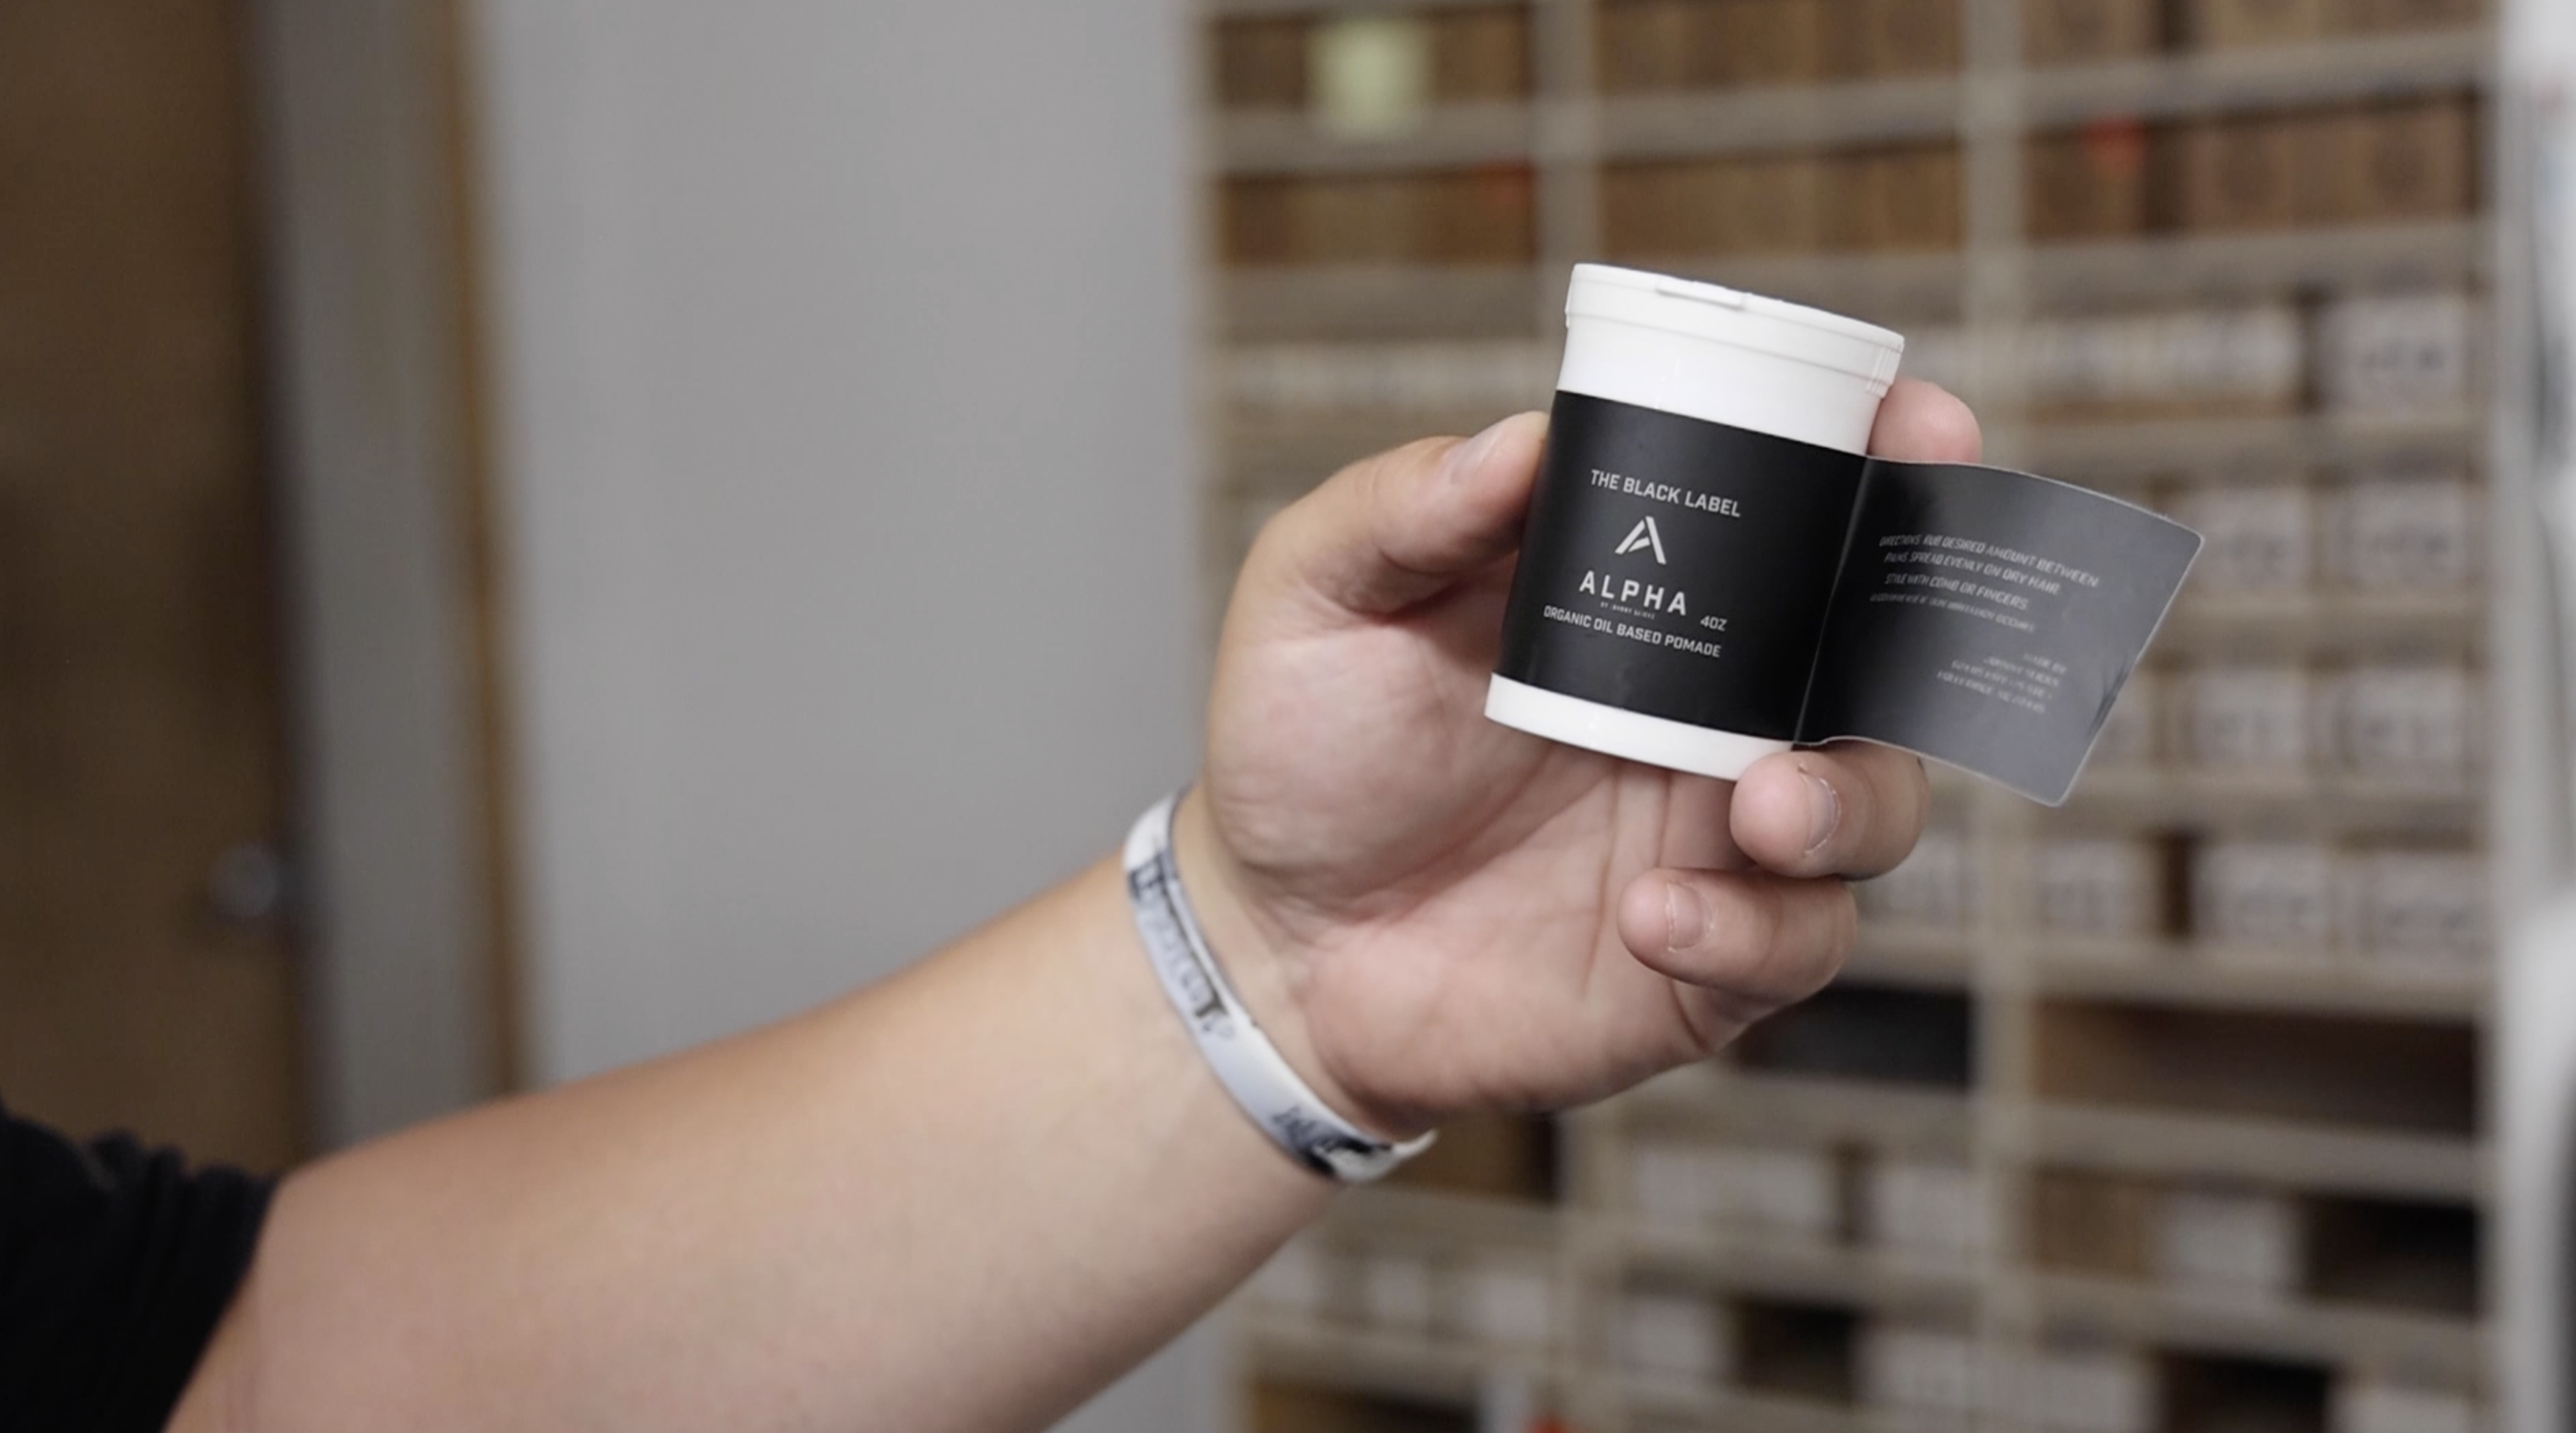
It’s essential to ensure your label fits correctly. Your custom label can be too small or too big. Either way, you’ve wasted labels or unused space on your container. If you’re unsure how to measure your custom label order, reach out to Sticker Mountain’s top-of-the-line customer service representatives. Let us help you get off to a great start!
Random Fact of the Day
Did you know the color of the fall leaves is based on how much sugar is in them? The purple and red leaves are caused by “Anthocyanin’s” pigment from dry and sunny weather. So, the more dryness and sun we get, the more sugar is in the leaves, and we get bright leaves!
